安装 JDK 和 Maven
JDK
略过
Maven
下载链接: apache-aven-3.8.5
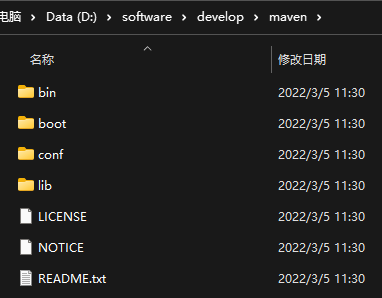
- 下载压缩包解压到合适路径
- 添加到环境变量
在系统变量新建变量 MAVEN_HOME
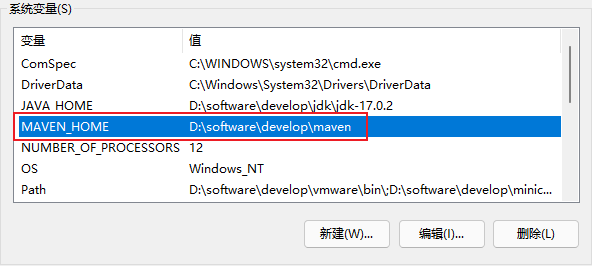
在系统变量 PATH 里添加 %MAVEN_HOME%/bin
- 验证安装
打开 terminal ,输入命令 mvn --version

- 修改配置文件和本地仓库地址
打开 /path/to/maven/conf/settings.xml
修改本地仓库路径:
<localRepository>D:\wjl\.m2\repository</localRepository>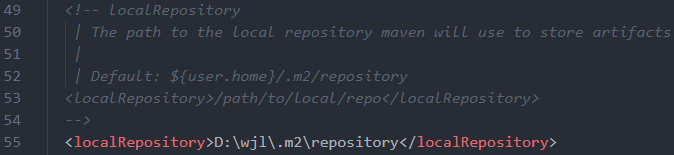
修改镜像为阿里云:
<mirror>
  <id>nexus-aliyun</id>
  <mirrorOf>*</mirrorOf>
  <name>Nexus aliyun</name>
  <url>http://maven.aliyun.com/nexus/content/groups/public</url>
</mirror>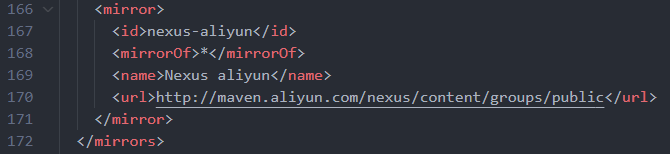
执行命令 mvn help:system 下载本地仓库

配置 Idea
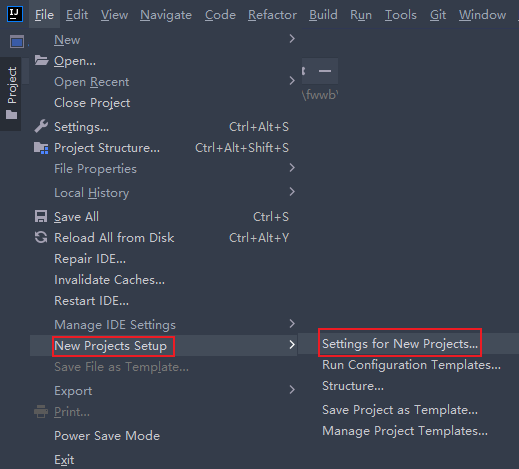
在 File → New Projects Setup → Settings for New Projects… 里找到 Maven 选项
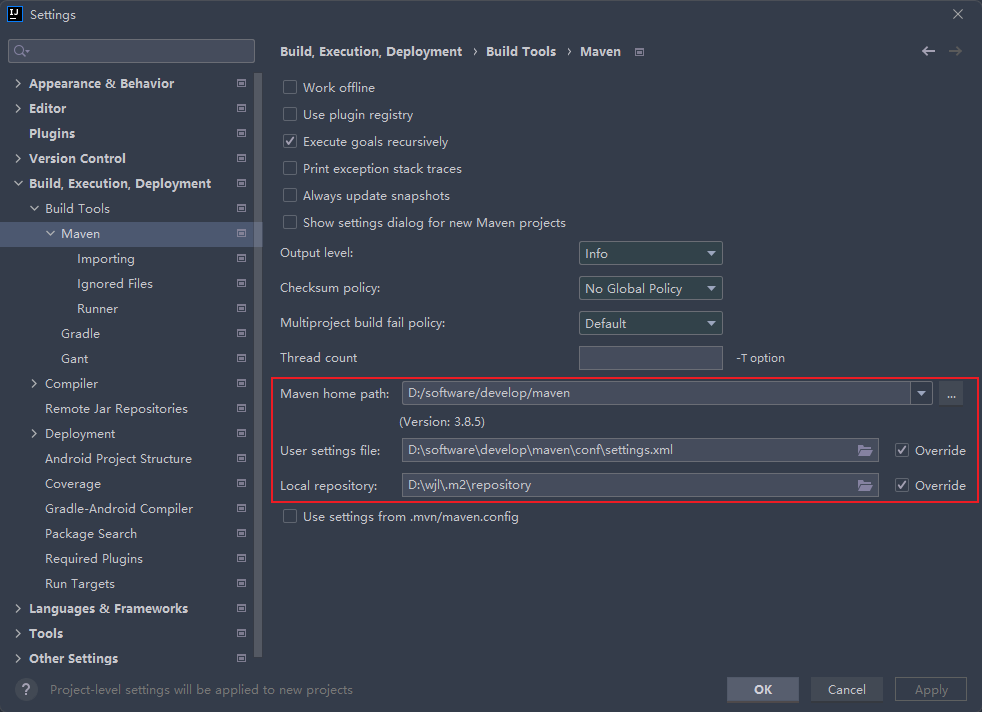
修改设置文件路径和本地仓库路径
创建 Maven 项目
由于可能会有多个 jsp 项目,这里选择创建 Maven 多模块工程,方便管理多个项目
创建父项目
这里创建一个普通 maven 项目,删除 idea 自动创建的 src 目录
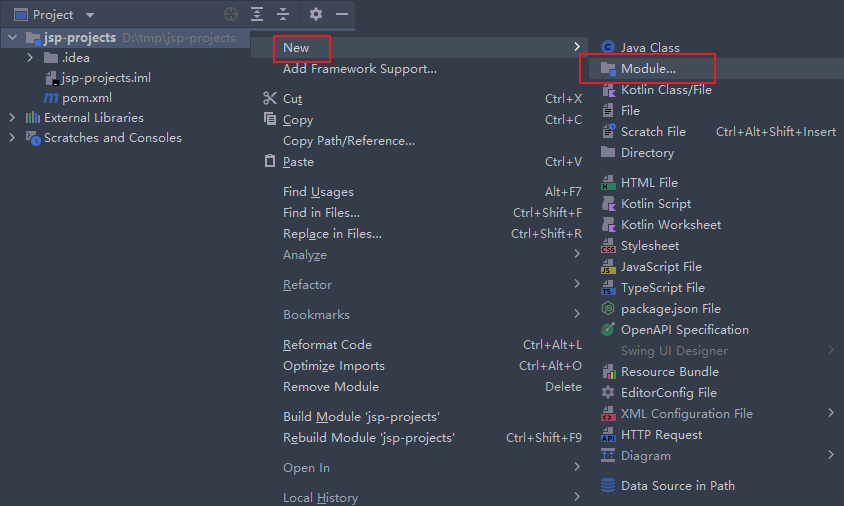
然后右键项目,选择新建模块
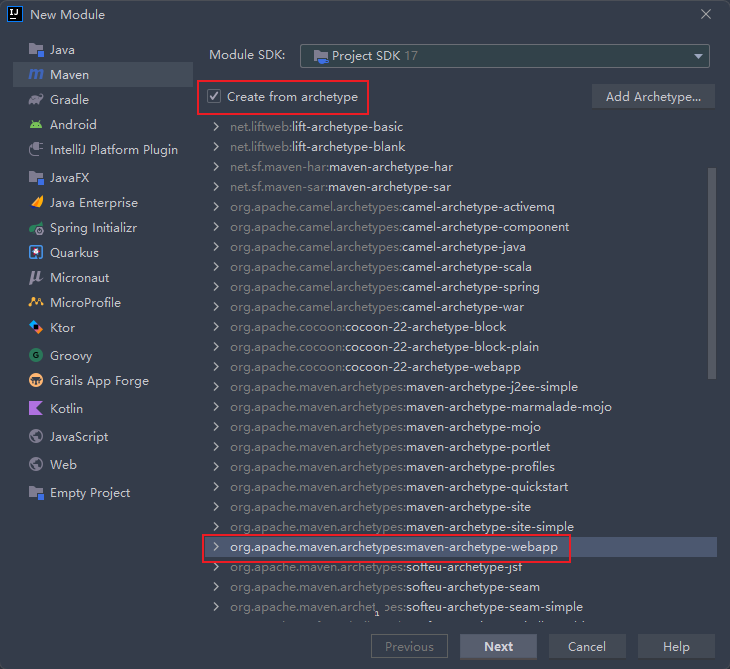
选择从模板创建,其他选项均改为默认
等待依赖下载完成
添加 tomcat-embded 依赖
<dependency>
  <groupId>org.apache.tomcat.embed</groupId>
  <artifactId>tomcat-embed-core</artifactId>
  <version>10.0.14</version>
</dependency>
<dependency>
  <groupId>org.apache.tomcat.embed</groupId>
  <artifactId>tomcat-embed-jasper</artifactId>
  <version>10.0.14</version>
</dependency>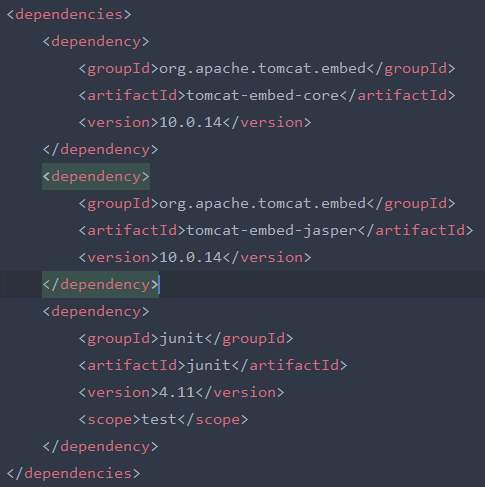
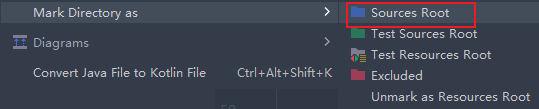
在 src 目录下新建 java 目录, 标记为 source root
创建 tomcat 启动类
public class TomcatStarter {
  public static String module = "hello";
  public static String contextpath = "/" + module;
  public static String sourcePath = new File(module + "/src/main/webapp").getAbsolutePath();
  public static String targetPath = new File(module + "/target/classes").getAbsolutePath();

  public static void main(String[] args) throws Exception {
    Tomcat tomcat = new Tomcat();
    tomcat.setPort(Integer.getInteger("port", 8080));
    tomcat.getConnector();
    Context ctx = tomcat.addWebapp(contextpath, sourcePath);
    WebResourceRoot resources = new StandardRoot(ctx);
    resources.addPreResources(new DirResourceSet(resources,
                              "/WEB-INF/classes", targetPath, "/"));
    ctx.setResources(resources);
    tomcat.start();
    tomcat.getServer().await();
  }
}
这时就可以运行 main 方法就可以启动 tomcat 服务器